How to Install and Connect a Smart Toilet
A smart toilet installs almost like a regular one: you need a water supply, a 220 V outlet nearby and a drain. Here's what to prepare, how to avoid picking the wrong model and what to check on first start-up.
· 8 min read
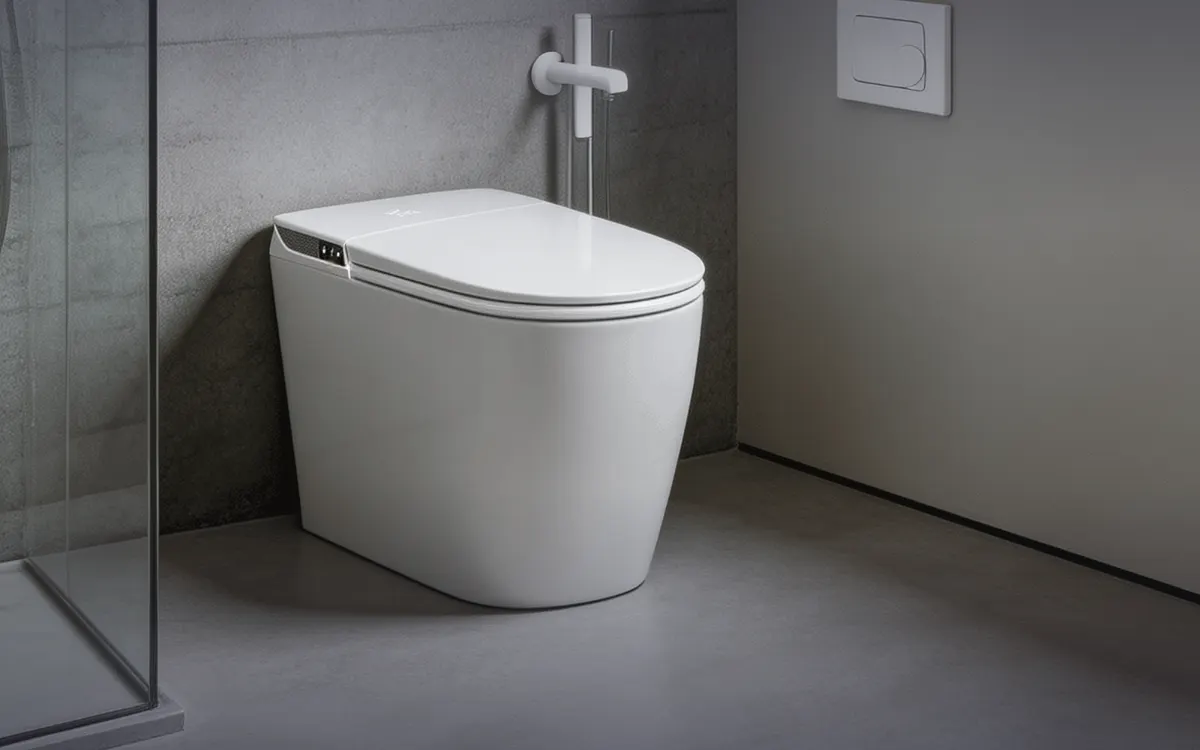
What you need to connect a smart toilet
Before buying, people often ask how to install a smart toilet with so much electronics inside. In practice, connecting a smart toilet differs little from connecting a regular one. The setup comes down to three lines:
- Water. The toilet connects with a hose to the cold water supply. It heats the water for the wash itself, with an on-demand heater.
- Electricity. You need a 220 V outlet next to the toilet: it powers the seat heating, water heating, dryer and electronics.
- Drain. The drain outlet goes into the wall or into the floor — this determines which model will fit.
Plus the mounting method: a floor-standing model sits on the floor, a wall-hung one hangs on an in-wall frame. You don't need to drill into the walls separately for the electronics.
Connecting to the power supply
A bathroom is a wet room, so the outlet for a smart toilet is installed and wired according to the rules for bathrooms. If you're not sure the wiring and the outlet are suitable, call an electrician. It's best not to use extension cords or multi-plug adapters for a permanent connection.
Plan the outlet and water supply before renovation, or at least before tiling: moving them later is harder and more expensive.
Before you buy: drain, water flow and space
Three checks that will save you from returns and rework.
Where your drain goes
Wall-hung D-series models and the floor-standing O92, O92B, O93, O93B and O24 connect to a drain in the wall. If the pipe comes out of the floor, choose models with the letter F — ACCELERATION O92F and MOMENT O93F, which have a floor drain outlet. The versions look identical, so go by the specifications, not the photos.
How much water flow you have
Tankless models — O92, O92F, O93, O93F and O24 — flush through an impulse valve straight from the water supply. They need good flow pressure. The check: take an empty 5-liter bottle and run the water for 15 seconds from the hose that will feed the toilet. If you collect 4.5 liters or more, the flush will work. If less, choose a model with a tank: any wall-hung D-series model or the floor-standing O92B or O93B. More in our article on the tankless impulse toilet.
Is there enough space
Most of our models are 588–590 mm deep — about 59 cm instead of the usual 70 cm of a regular toilet. The floor-standing INERTIA O24 is larger: 680 × 400 × 480 mm. Exact dimensions are listed on each model's page.
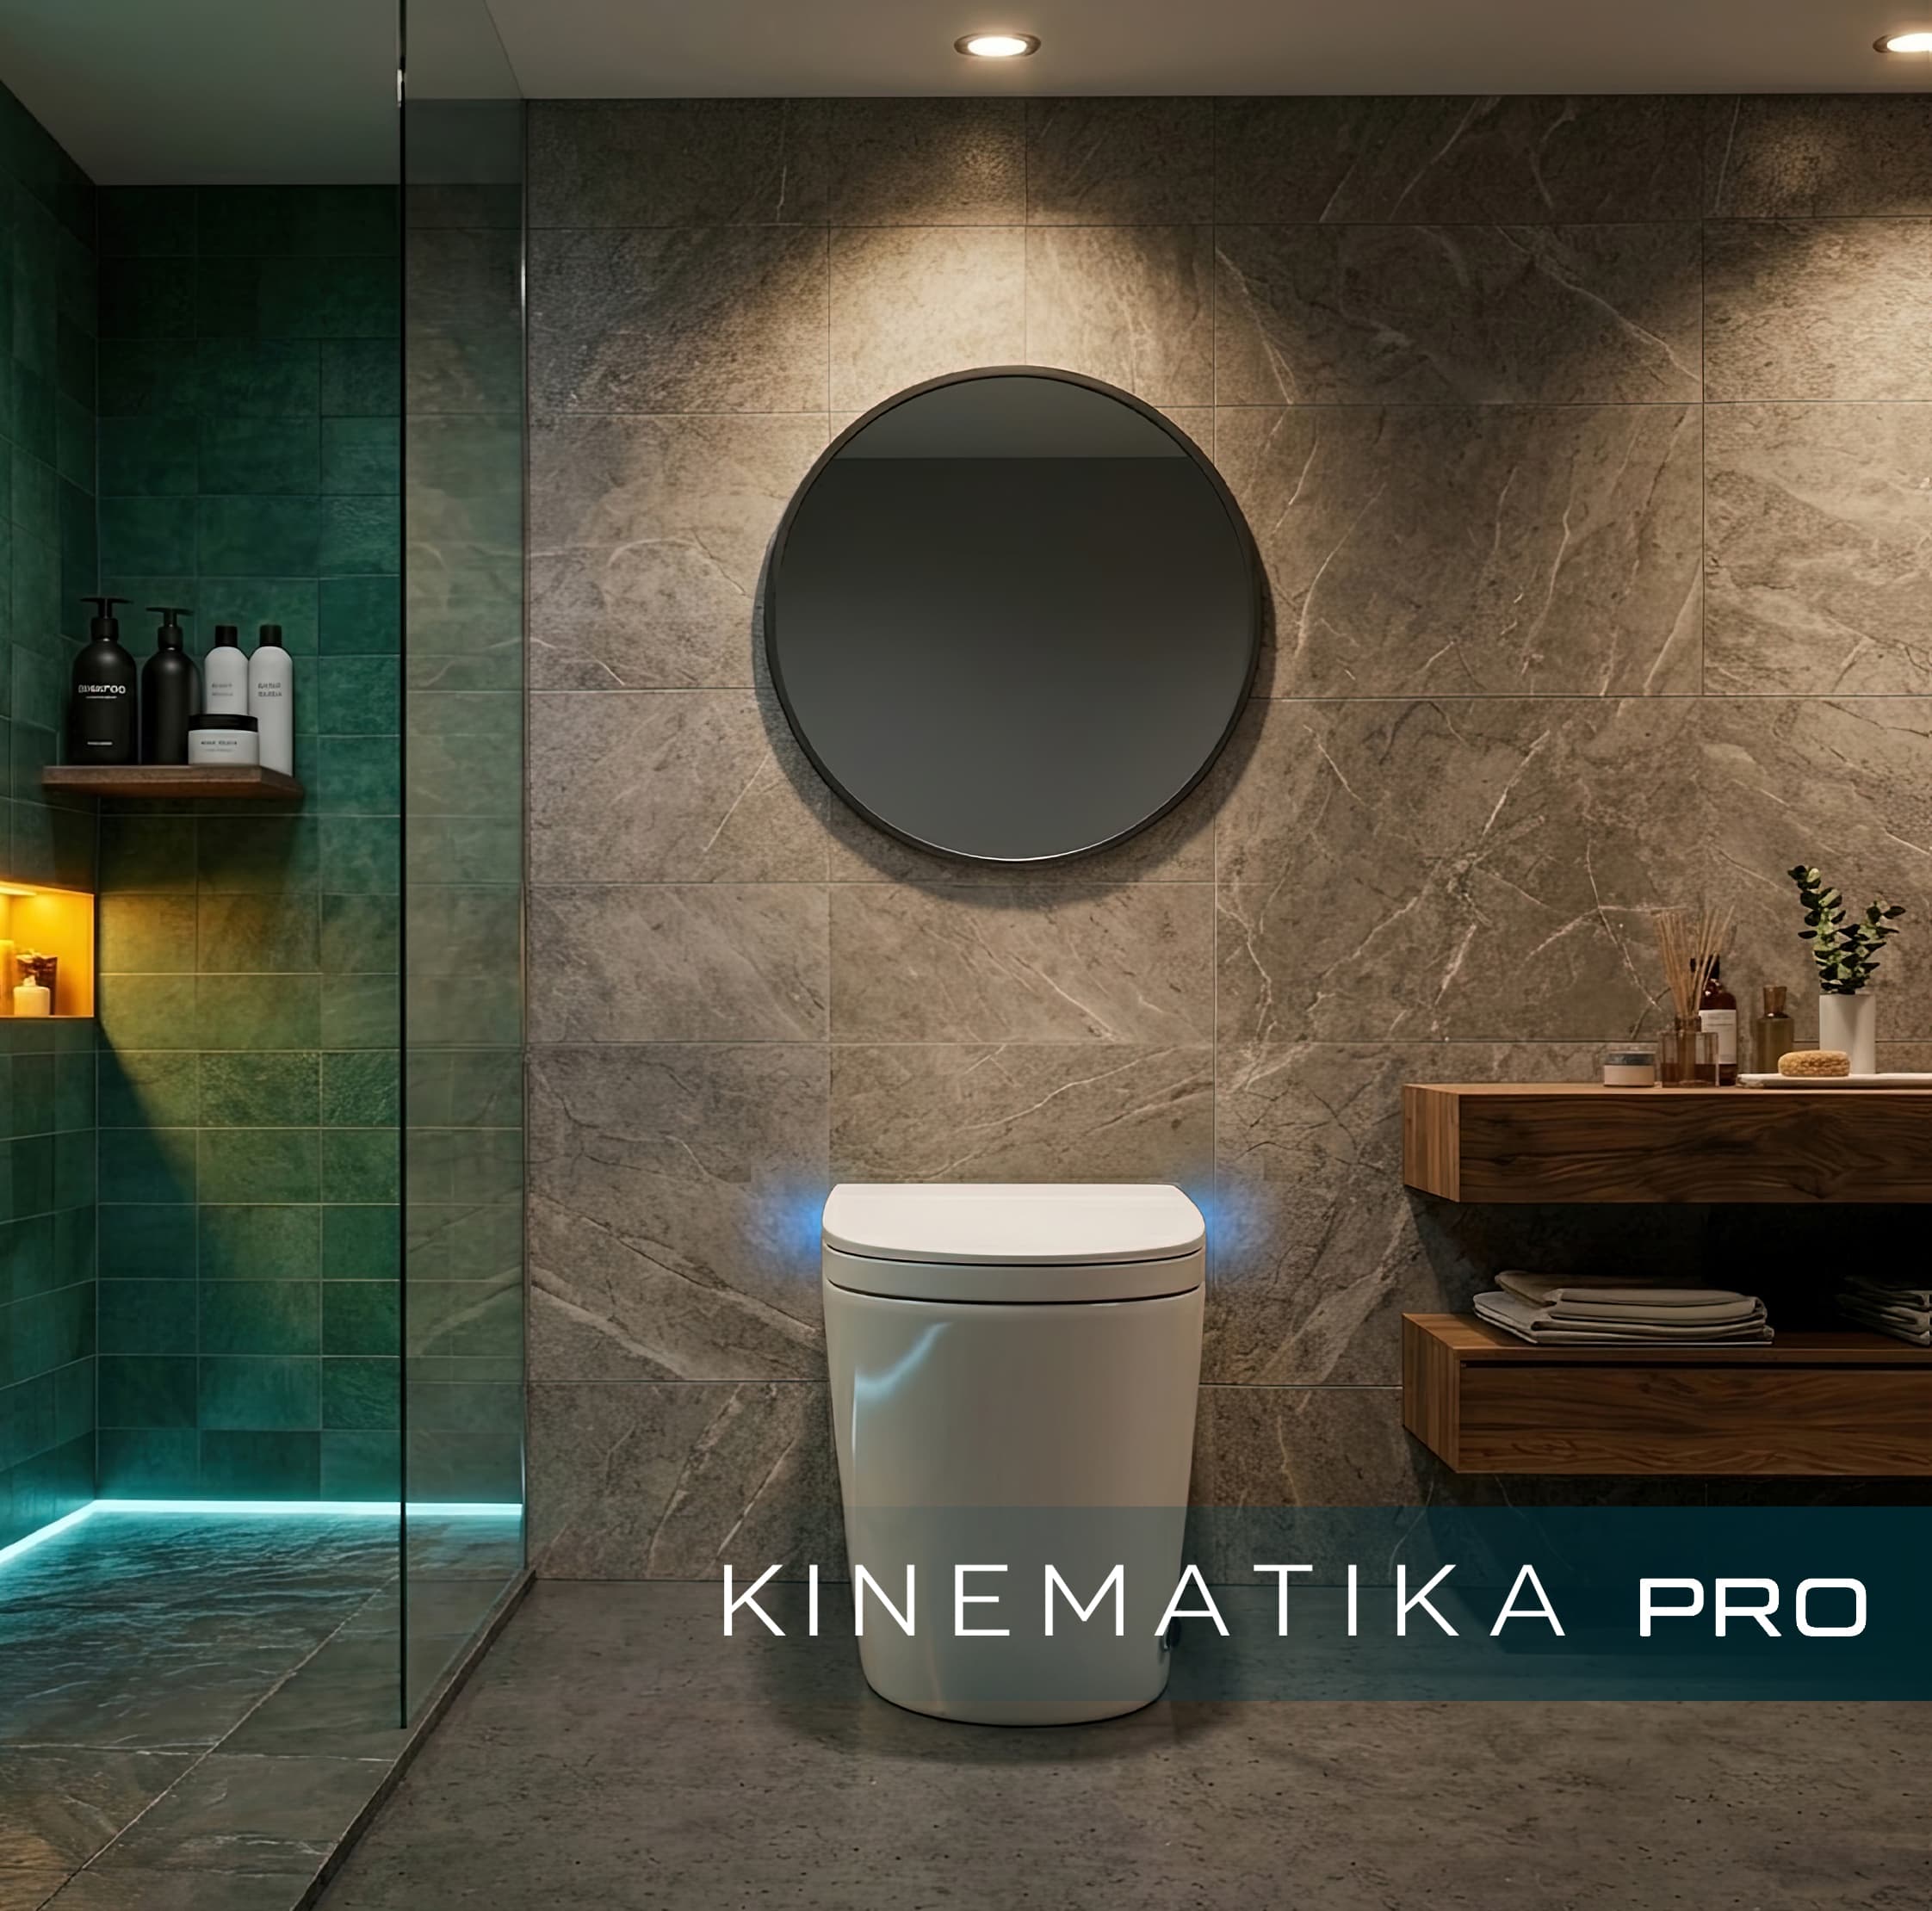
How to install a floor-standing smart toilet
Installing a floor-standing smart toilet is similar to installing a regular one. The steps are:
- Shut off the water and remove the old toilet, if there is one.
- Make sure there's a 220 V outlet and a water supply nearby, and that the drain matches the model — into the wall or into the floor.
- Connect the toilet to the drain the same way as a regular toilet with the same outlet type, and secure it to the floor.
- Attach the water supply hose, open the valve and check for leaks.
- Plug it in and test all the functions — see first start-up below.
If the model is tankless, do the bottle flow check before installation: that way you'll know the flush will work right away.
How to install a wall-hung smart toilet on an in-wall frame
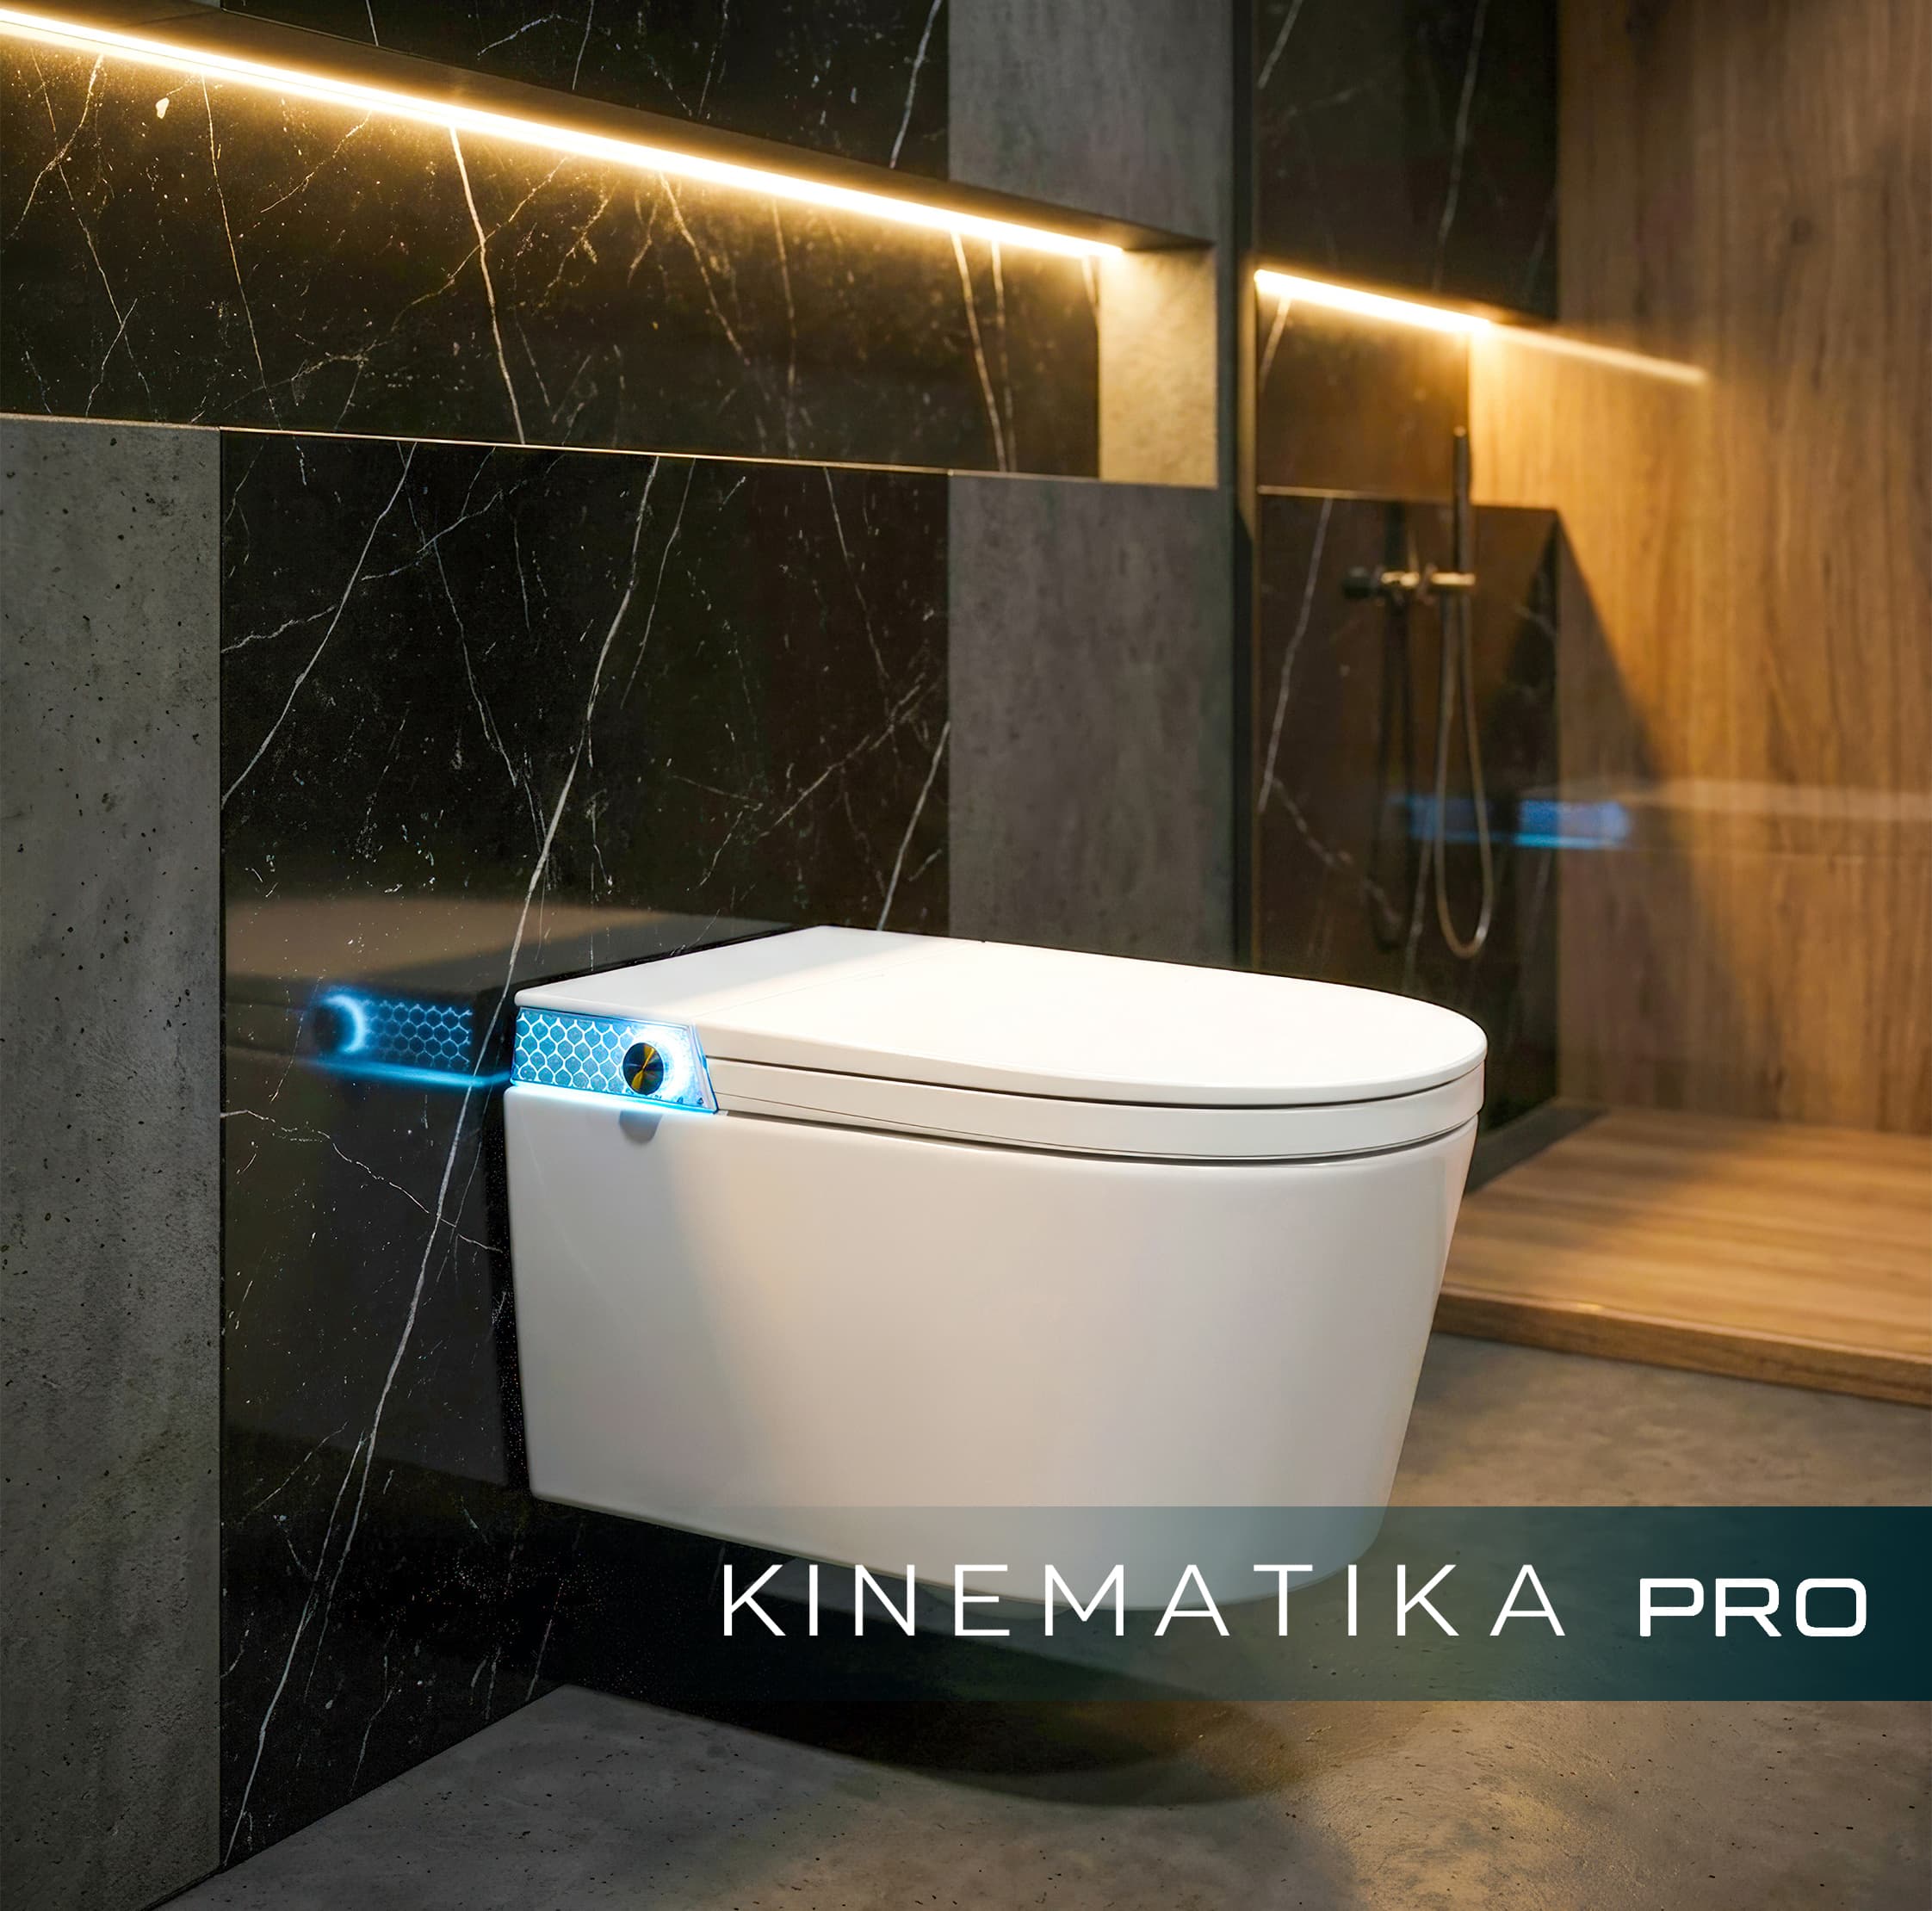
A wall-hung smart toilet hangs on an in-wall frame — a metal frame hidden in the wall — just like a regular wall-hung toilet. There is one difference: you need to bring not only water but also a 220 V outlet to the installation spot in advance.
All Kinematika Pro wall-hung models have a built-in 5.3-liter tank, so the flush works at any water pressure in your home. There's no need to do the bottle check for them.
If a frame is already in place, the smart toilet can be hung on it. The whole process — connecting water and power and testing — is shown in the video “Installing a Smart Toilet on an Existing Frame”. Ask our manager whether your frame suits the chosen model. More on choosing a frame in our article on in-wall frames for smart toilets.
First start-up: what to check
After installation, go through the functions one by one — you'll see right away whether everything is connected correctly:
- Open the water and make sure the connections don't leak.
- Plug the toilet in.
- Walk up to the toilet — the lid should rise on the proximity sensor.
- Start the wash from the control panel or by voice, then the dryer. Check that the water and the seat heat up.
- Set the seat, water and dryer temperatures to your liking.
- Flush with the button or the “Flush” command. On a tankless model, the flush should be strong from the very first time.
- Test the voice control: all models have 8 commands in Russian — water temperature, drying, lid, flush and more.
If something doesn't work, message us on Telegram, WhatsApp or MAX. Our service team will run diagnostics over a video call — it usually takes about 15 minutes.
Common installation mistakes
Almost all installation problems arise before the toilet is even delivered. Check yourself against this list:
- Buying a tankless model without checking the flow. If the bottle collects less than 4.5 liters in 15 seconds, the flush will be weak. A model with a tank removes this risk.
- Looking at pressure instead of flow. Even at 10 bar, hose transitions of 3/4 → 1/2 → 3/4 sharply reduce the flow. It's best to remove unnecessary adapters from the supply line.
- Mixing up the drain outlet. A model with a wall drain won't fit a pipe coming out of the floor, and vice versa. The letter F in the name means a floor drain.
- Forgetting about the outlet. Bathrooms with a regular toilet often have no outlet, and with an in-wall frame it has to be brought out before finishing.
- Plugging in through an extension cord. For permanent operation, the toilet needs a proper outlet nearby.
Installation by a technician: Moscow and the regions
In Moscow and the Moscow Region you can order installation from us — it's a separate paid service. Our manager will quote the price and a convenient date by phone at +7 (995) 222-68-86.
In other cities, installation is usually done by a local plumber: as far as water and drain go, a smart toilet installs like a regular one. If you need a spare part, it ships from our Moscow warehouse via CDEK on the day you contact us, free of charge under warranty, and we'll help you replace it over video — usually in about 20 minutes. Delivery times and costs are on the delivery and payment page.
Models in this article

Questions and answers
Can I install a smart toilet myself?
As far as water and drain go, installation is almost the same as for a regular toilet; you only add a 220 V outlet. If you're unsure about the electrics, call an electrician — and in Moscow and the Moscow Region you can order installation from us.
What outlet does a smart toilet need?
A standard 220 V outlet next to the toilet. Wire it according to the rules for bathrooms and, if in doubt, with an electrician.
What water pressure does a smart toilet need?
Models with a built-in tank work at any pressure. Tankless models need good flow pressure: an empty 5-liter bottle filled from the supply hose should collect 4.5 liters in 15 seconds.
Is there a video on installing a smart toilet?
Yes, the “Videos” section has a step-by-step guide to mounting a wall-hung smart toilet on an already installed in-wall frame.
How much does smart toilet installation cost?
Installation is a separate paid service in Moscow and the Moscow Region. Please ask our manager for the price.